Z-Line Designs TV Stand Assembly: A Comprehensive Guide
Finding the correct Z-Line Designs TV stand assembly instructions PDF is crucial. Many users report locating them via Google searches, or directly on the Z-Line Designs website, ensuring a smooth build.
Understanding the Z-Line Brand & Product Range

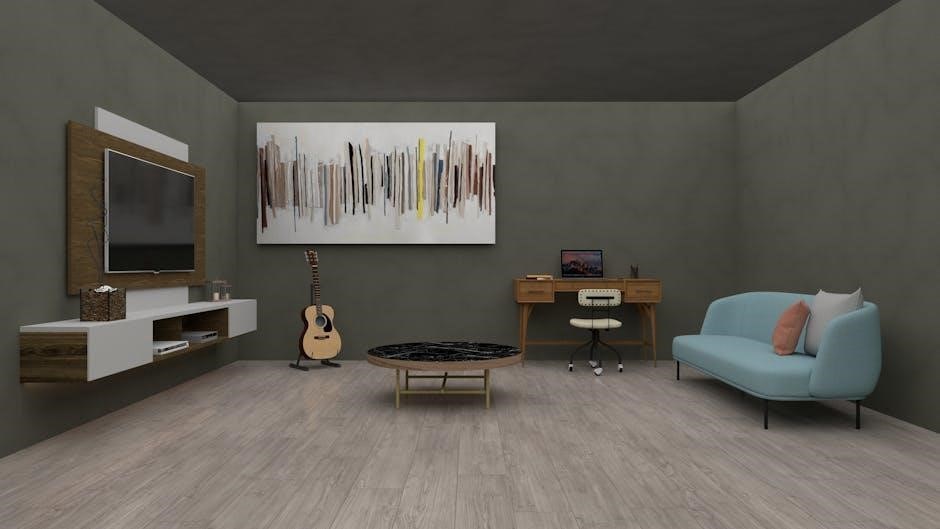
Z-Line Designs has established itself as a prominent provider of contemporary home entertainment furniture, specializing in TV stands, entertainment centers, and wall mounts. Their product range caters to diverse aesthetic preferences and space constraints, offering options from sleek, minimalist designs to more elaborate, feature-rich configurations. A key aspect of the brand is its focus on providing stylish solutions at accessible price points, making modern design attainable for a wider consumer base.
The company’s catalog includes various TV stand styles, such as corner units, floating stands, and those with integrated storage like drawers and shelves. Many models incorporate cable management systems, a feature increasingly valued by consumers seeking a clean and organized entertainment setup. Understanding this broad product range is essential when searching for specific assembly instructions PDF files, as each model will have its unique documentation. Z-Line frequently updates its designs, so ensuring you have the correct PDF for your specific model year is vital for a successful assembly.
Furthermore, Z-Line’s commitment to contemporary aesthetics often involves utilizing materials like engineered wood, glass, and metal, impacting the assembly process and requiring careful handling of components.
Locating the Correct Assembly Instructions PDF
Finding the precise assembly instructions PDF for your Z-Line Designs TV stand often begins with the official Z-Line Designs website. Navigate to their support or product pages and utilize the search function, entering your model number. Many users successfully locate PDFs through a targeted Google search, using terms like “Z-Line [model number] assembly instructions PDF”. Be precise with the model number; variations can lead to incorrect, and unusable, documentation.
Several online forums and communities dedicated to furniture assembly also archive these PDFs. However, exercise caution when downloading from unofficial sources to avoid potentially compromised files. Retailer websites, such as Amazon or Wayfair, where you purchased the TV stand, frequently host downloadable PDFs in the product information section.
If you encounter difficulties, contacting Z-Line Designs customer support directly is recommended. They can provide a direct link to the correct PDF or email it to you. Always verify the PDF’s version matches your product’s manufacturing date for accurate guidance.
Pre-Assembly Checklist: Parts & Tools
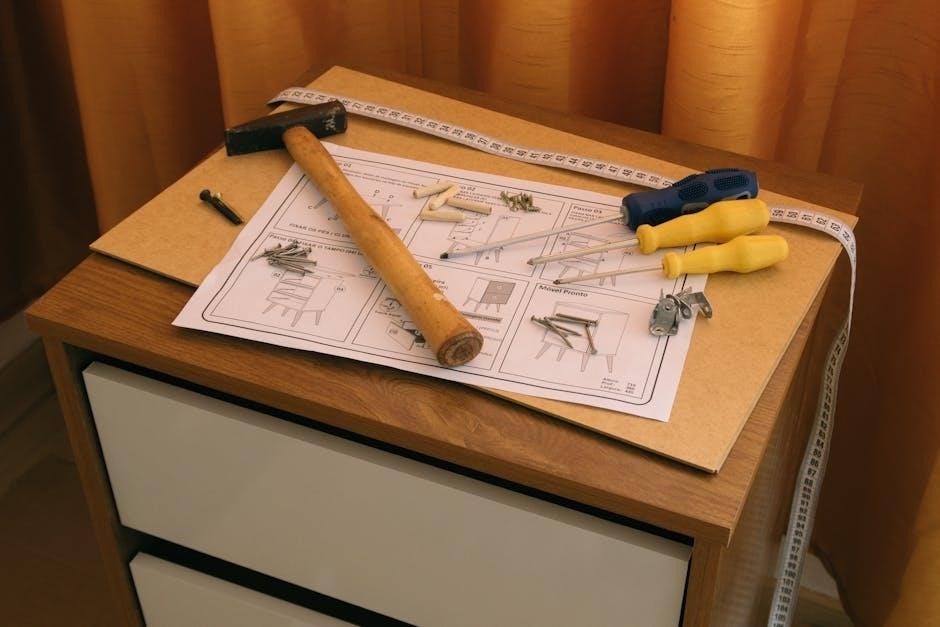
Before commencing Z-Line Designs TV stand assembly, a thorough inventory is essential. Cross-reference all components listed in the assembly instructions PDF against the physical parts received. Note any discrepancies immediately and contact Z-Line Designs if anything is missing. Typically, you’ll find panels, shelves, drawers (if applicable), hardware packs, and potentially cable management accessories.
Regarding tools, a Phillips head screwdriver is almost always required. An electric screwdriver with adjustable torque is highly recommended to prevent over-tightening and damaging the particleboard. A flathead screwdriver may be needed for certain cam lock mechanisms. A rubber mallet can assist with gently tapping pieces into place.
A soft cloth or blanket to protect the TV stand’s finish during assembly is advisable. Having a level handy will be crucial for the final setup. Finally, ensure ample workspace, free from obstructions, to facilitate a smooth and efficient assembly process. Reviewing the PDF beforehand will highlight specific tool needs.
Step 1: Base Assembly – Foundation & Support
Initiating the Z-Line Designs TV stand build, the base assembly forms the crucial foundation. Refer closely to the assembly instructions PDF, typically beginning with attaching the side supports to the base panel. This often involves cam locks and wooden dowels – ensure proper alignment before tightening. The PDF will illustrate the correct orientation of each piece.
Pay close attention to the direction of any pre-drilled holes; these are specifically designed for subsequent steps. Gently tap dowels into place using a rubber mallet, avoiding excessive force. Secure the side supports using the provided cam locks, rotating them clockwise until firmly locked. Double-check the stability of the base before proceeding.
Some models may include additional support beams or feet at this stage. The PDF will clearly depict their placement and attachment method. A level surface is vital during this step to ensure a square and stable base for the entire unit. This foundational step dictates the overall structural integrity.
Step 2: Side Panel Attachment – Ensuring Stability
Following the base assembly, the assembly instructions PDF guides you through attaching the side panels. This stage is critical for overall stability. Typically, this involves aligning the side panels with the pre-drilled holes on the assembled base and securing them using screws or cam locks – again, referencing the PDF’s diagrams is essential.
Ensure the side panels are flush with the base before fully tightening the fasteners. Incorrect alignment here can lead to instability or difficulty in later stages. Some Z-Line Designs models utilize a combination of screws and wooden dowels for enhanced rigidity. The PDF will detail the specific hardware required for your model.
Periodically check for squareness using a carpenter’s square as you attach each side panel. This prevents racking and ensures the TV stand remains level. Don’t overtighten screws, as this can strip the particleboard. A firm, but not forceful, tightening is recommended. This step builds the core structure.
Step 3: Back Panel Installation – Reinforcing Structure
The Z-Line Designs TV stand assembly instructions PDF now directs you to install the back panel. This isn’t merely cosmetic; it significantly reinforces the entire structure, preventing wobble and adding crucial stability. Typically, the back panel is a thin fiberboard piece secured with small nails or screws.
Carefully align the back panel with the edges of the assembled base and side panels. The PDF will illustrate the correct orientation – often, there’s a finished side that should face outwards. Start by tacking the panel in place at the corners, then evenly space the remaining fasteners along all edges.
Ensure the panel is flush against the frame before fully securing it. A properly installed back panel dramatically reduces racking. Some models may have multiple back panel sections; the PDF will clearly show the order of installation. Avoid hammering too forcefully to prevent damage to the panel or the surrounding frame. This step solidifies the unit.
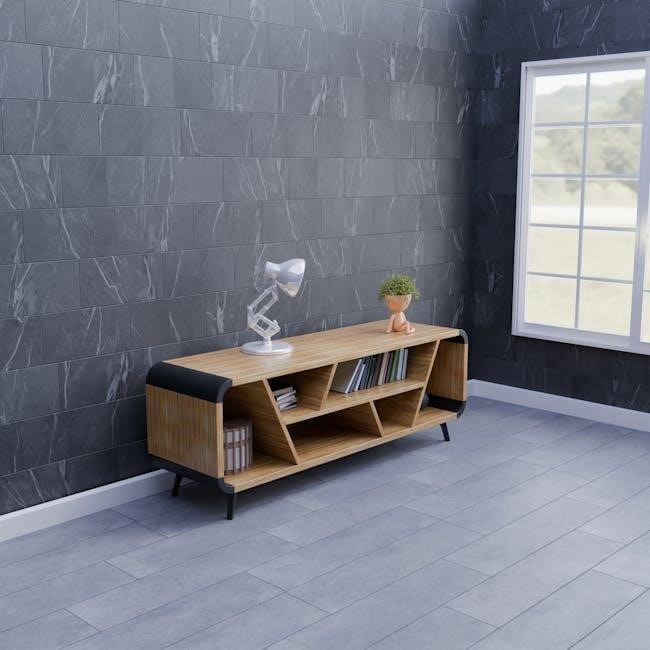
Step 4: Shelf Placement & Securing – Weight Distribution
Referring to the Z-Line Designs TV stand assembly instructions PDF, proceed with shelf placement. These shelves are vital for weight distribution and maximizing storage. The PDF will detail the correct shelf positions, often utilizing pre-drilled holes or shelf supports.
Insert the shelf supports – typically small metal or plastic pegs – into the designated holes on the side panels. Ensure they are firmly seated before carefully positioning the shelves. Some models use adjustable shelf supports, allowing for customized spacing. Once the shelves are in place, the PDF may indicate securing them with small screws.
This prevents shifting and adds extra stability, especially when loading heavier items. Distribute weight evenly across the shelves to avoid stressing the unit’s structure. Consider placing heavier components closer to the base for enhanced stability. Proper shelf installation is key to a long-lasting and functional TV stand.
Step 5: Drawer Assembly (If Applicable) – Slides & Handles
Consult the Z-Line Designs TV stand assembly instructions PDF for drawer construction. This stage involves attaching drawer slides to both the drawer boxes and the interior sides of the TV stand’s cabinet. The PDF will illustrate the correct orientation and screw placement for these slides – crucial for smooth operation.
Carefully align and secure the slides, ensuring they are parallel. Once the slides are attached, gently insert the drawer boxes into the cabinet. They should glide in and out without resistance. If there’s friction, double-check the slide alignment. Next, attach the drawer handles or pulls using the provided screws.
The PDF will specify the correct screw length to avoid protruding through the drawer front. Tighten the screws securely, but avoid over-tightening, which could damage the drawer front. Properly assembled drawers enhance the TV stand’s functionality and aesthetic appeal.
Step 6: Door Installation (If Applicable) – Hinges & Alignment
Refer to the Z-Line Designs TV stand assembly instructions PDF for detailed door installation guidance. This typically begins with attaching hinges to both the doors and the cabinet frame. The PDF will clearly depict the correct hinge placement, ensuring proper door alignment and swing.
Secure the hinges with the provided screws, being careful not to overtighten. Once the hinges are attached, carefully mount the doors onto the cabinet frame. Initially, only loosely tighten the hinge screws to allow for adjustments. Check for even gaps around the doors and adjust the hinges accordingly.
Most Z-Line Designs TV stands feature adjustable hinges, allowing for fine-tuning of door alignment. The PDF will explain how to use these adjustments to achieve a perfect fit. Once aligned, fully tighten all hinge screws. Properly installed doors contribute significantly to the TV stand’s overall appearance and usability.
Step 7: Cable Management System – Organizing Wires
Consult the Z-Line Designs TV stand assembly instructions PDF for specifics on utilizing the built-in cable management system. Many models feature pre-drilled holes and channels designed to conceal and organize wires, promoting a clean and uncluttered entertainment setup.
Begin by grouping cables together using zip ties or Velcro straps (often included). Route these bundles through the designated holes and channels in the back of the TV stand. The PDF will illustrate the optimal routing paths to avoid pinching or damaging cables.
Some Z-Line Designs stands include cable management covers to further conceal wires. Secure these covers according to the instructions. Proper cable management not only improves aesthetics but also enhances safety by preventing tripping hazards and protecting cables from damage. A well-organized system simplifies future connections and adjustments.
Step 8: Final Touches – Leveling & Aesthetics
Refer to the Z-Line Designs TV stand assembly instructions PDF for guidance on final adjustments. Begin by carefully inspecting the entire unit for any loose screws or misaligned panels. Tighten all fasteners to ensure stability and prevent wobbling.
Most Z-Line stands include adjustable leveling feet. Utilize these to compensate for uneven floors, ensuring the TV stand sits perfectly level. A level surface is crucial for both safety and optimal viewing experience; Use a spirit level to verify the alignment.
Finally, address any aesthetic details. Clean the surfaces with a soft cloth to remove dust and fingerprints. Arrange cables neatly within the cable management system (refer to Step 7). Step back and admire your newly assembled Z-Line Designs TV stand – a stylish and functional addition to your home entertainment space!

Troubleshooting Common Assembly Issues
Consult the Z-Line Designs TV stand assembly instructions PDF first when encountering problems. A frequent issue is misidentification of parts; double-check part numbers against the diagram. If screws seem difficult to insert, ensure you’re using the correct size and applying even pressure.
Wobbly stands often indicate uneven flooring or improperly adjusted leveling feet. Refer back to Step 8 for leveling instructions. Misaligned doors or drawers typically stem from loose hinges or slides. Carefully tighten these, ensuring proper alignment before fully securing.
If you’re missing parts, don’t proceed – contact Z-Line Designs customer support (see section 13) for replacements. Avoid forcing components, as this can cause damage. A methodical review of the PDF, step-by-step, often reveals overlooked details. Remember patience is key to a successful assembly!
Identifying Replacement Parts
The Z-Line Designs TV stand assembly instructions PDF often includes a detailed parts list with diagrams. Use this to precisely identify the missing or damaged component. Note the part number and description for accurate ordering. Z-Line’s website features a dedicated section for replacement parts, searchable by model number.
If the PDF lacks sufficient detail, contacting Z-Line Designs customer support (section 13) is recommended. Be prepared to provide your model number, purchase date, and a clear description of the needed part. Photos of the damaged component can expedite the process.
Third-party retailers sometimes stock Z-Line parts, but verifying compatibility is crucial. Always cross-reference the part number with the official Z-Line parts list. Avoid using generic replacements, as they may not fit or function correctly, potentially compromising the stand’s stability and appearance.
Understanding Z-Line’s Warranty Information
The Z-Line Designs TV stand assembly instructions PDF typically doesn’t detail warranty specifics, but directs users to their official website. Z-Line generally offers a limited warranty covering manufacturing defects in materials and workmanship. The warranty period varies by product line, often ranging from one to five years from the original purchase date.
Warranty coverage usually excludes damage resulting from improper assembly, misuse, accidents, or normal wear and tear. Retain your proof of purchase (receipt or invoice) as it’s required for any warranty claim. Carefully review the complete warranty terms on the Z-Line Designs website before assembly.
Filing a warranty claim usually involves contacting Z-Line’s customer support (section 13) with your model number, purchase date, and a description of the defect. They may request photos or require you to return the defective part for inspection.
Safety Precautions During Assembly
While the Z-Line Designs TV stand assembly instructions PDF outlines the build process, it’s vital to prioritize safety. Always work in a spacious, well-lit area, free from obstructions. Wear safety glasses to protect your eyes from dust and small parts. Consider using work gloves to prevent splinters or scrapes.
Be mindful of the weight of the components; some pieces can be heavy and require assistance. Avoid over-tightening screws, as this can strip the threads or damage the particleboard. If using power tools, follow the manufacturer’s safety guidelines and use appropriate bits.
Keep small parts and packaging materials away from children and pets to prevent choking hazards. If the stand includes glass components, handle them with extreme care to avoid breakage and potential injury. Regularly check for loose screws or connections after assembly.
Z-Line Designs Customer Support Contact Information
Should the Z-Line Designs TV stand assembly instructions PDF prove insufficient, or you encounter missing parts, their customer support team is available for assistance. While specific contact details can vary, generally, you can reach them through their official website – often a “Contact Us” or “Support” section provides options.
Typically, Z-Line Designs offers support via email, allowing you to describe your issue and potentially attach photos of problematic parts or steps. A phone number is often listed for direct communication during business hours. Response times can vary depending on the volume of inquiries.

Before contacting support, have your model number and proof of purchase readily available. This will expedite the process. Many users also find helpful information and FAQs on the Z-Line Designs website, addressing common assembly concerns. Checking online forums dedicated to furniture assembly can also provide peer-to-peer solutions.
Alternative Assembly Resources (Videos & Forums)
Beyond the official Z-Line Designs TV stand assembly instructions PDF, numerous online resources can aid the building process. YouTube is a treasure trove of assembly videos, often created by customers documenting their experiences. Searching for your specific Z-Line model number alongside “assembly” will yield relevant results.
Online furniture assembly forums are also incredibly valuable; These communities allow you to ask questions, share tips, and view solutions to common problems encountered during Z-Line TV stand assembly. Users frequently post photos and detailed explanations, offering alternative perspectives.
Websites dedicated to DIY projects and home improvement often feature threads discussing Z-Line products. Social media platforms, like Reddit, also host relevant subreddits where users exchange advice. Remember to verify information found on forums with the official instructions to ensure accuracy and safety during assembly.
Decoding the Z Symbol in Z-Line Branding
The prominent “Z” in Z-Line Designs’ branding, while seemingly simple, carries a subtle significance. Interestingly, the letter ‘Z’ itself is noted for its relatively low frequency in the English language, lending it a sense of uniqueness and distinction. This rarity contributes to the brand’s perceived exclusivity.
Historically, the letter ‘Z’ has been associated with a sense of the exotic or foreign, potentially reflecting Z-Line’s modern and often internationally-inspired designs. The shape of the ‘Z’ can also be interpreted as representing a dynamic, forward-moving energy, aligning with the company’s innovative approach to furniture.
While not directly related to the assembly instructions PDF for their TV stands, understanding the brand’s symbolism provides context. The ‘Z’ subtly communicates a commitment to quality, style, and a departure from conventional furniture norms, enhancing the overall customer experience.